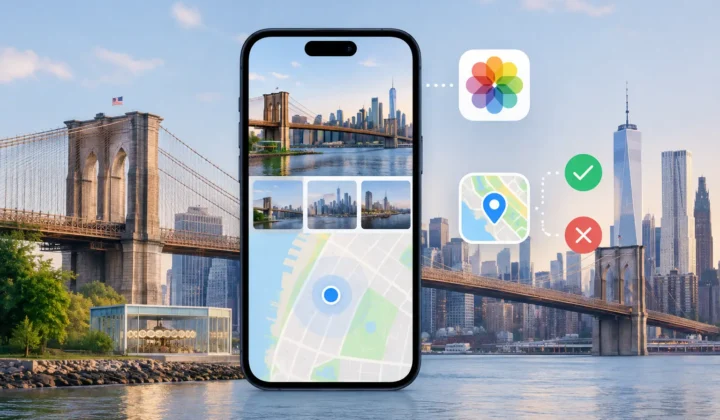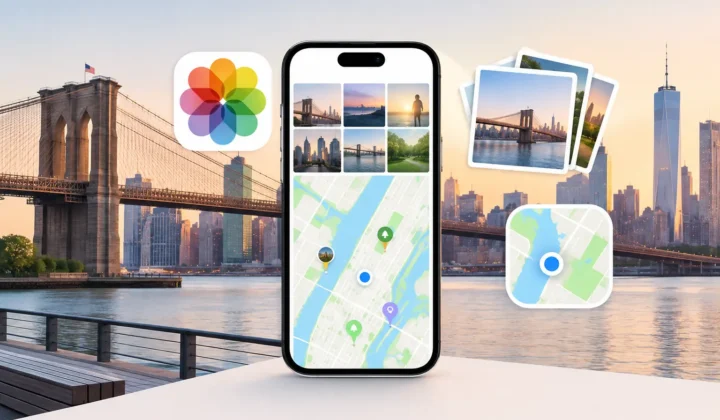

A folder of 600 vacation photos without places attached is not one metadata problem. It is dozens of smaller ones: airport images, hotel interiors, a day trip two hours away, screenshots, and perhaps a few photos that were never taken where their timestamps suggest. To bulk add locations to photos safely, the goal cannot be speed alone. It must be to apply location data only where the surrounding evidence supports it.
That distinction matters in Apple Photos. A location pin affects how pictures appear on a map, surface in search, and tell the story of a trip years later. An incorrect pin can be harder to notice than a missing one, especially after it has been applied to hundreds of images.
Start with evidence, not a blanket location
The tempting approach is to select every untagged photo from a trip and assign one city or venue. That can be acceptable for a clearly bounded set, such as scanned prints from a single family gathering. It is much less reliable for an imported camera roll, where an afternoon in one place may sit beside an evening somewhere else.
A safer workflow uses geotagged photos as anchors. Look at an untagged sequence between two images that already have locations, then compare timestamps, distance, and the length of the gap. If a GPS-tagged photo was taken at a museum at 2:04 p.m., and the next known-location photo was taken nearby at 2:16 p.m., the intervening indoor images may have strong support for the same location.
A six-hour gap is different. The person behind the camera could have driven across a state, flown home, or simply had location services unavailable all day. A tool should not turn that uncertainty into a confident pin.
Sort photos into groups that share a plausible place
Bulk editing becomes safer when the batch is a meaningful group rather than a date range. Groups might be a run of photos taken at one attraction, a set of scanned images from one address, or an imported camera sequence bracketed by nearby phone photos.
Before applying anything, inspect the beginning and end of each group. The anchor photos should make sense with the proposed location and with each other. A timeline view is particularly useful here because it exposes patterns that a simple grid can hide: a short missing stretch between two known points, a long gap with no support, or a sudden change in location.
This is also where photos from messaging apps and AirDrop need extra care. Their saved dates can reflect when the file was received rather than when it was captured. If the timestamp is not trustworthy, neighboring photo locations are weaker evidence. Treat the result as a proposal to review, not a fact to write automatically.
Look for mixed batches
One batch can contain several kinds of photos that deserve different treatment. Travel photos may be easy to place, while screenshots, downloaded images, and pictures shared by other people should usually stay out of the group. A dedicated camera import can also include images made days before or after the trip.
Do not assume a neat folder means a coherent timeline. Check capture dates, not only import dates. If the camera clock was wrong, correct that issue before relying on timestamps to infer a location.
Account for camera-clock offsets
GPS-free files from Canon, Nikon, Sony, and Fujifilm cameras often arrive with good capture timestamps but no coordinates. Those timestamps can be enough to connect a camera sequence to location-tagged iPhone photos from the same outing. But only if the camera clock is reasonably accurate.
A clock offset is not always obvious. A camera set to a previous time zone may place every image three hours away from its real moment in the timeline. Daylight saving changes can create a one-hour shift. A camera that has not been adjusted in years may drift by several minutes.
Compare a distinctive camera photo with a phone photo from the same moment: a toast, a landmark, a person opening a gift. If their times differ consistently, apply the known offset before evaluating locations. If there is no consistent relationship, do not force a match. The honest result may be that the camera images require manual placement or should remain untagged.
Review certainty before you apply changes
A useful bulk workflow makes its confidence visible. Strong evidence might be a tight time window between two nearby anchors. Moderate evidence could be a sequence near one anchor with no contradictory information. Weak evidence might be a long gap, distant anchors, or unclear timestamps.
Those states should lead to different actions. High-confidence groups can be reviewed quickly. Medium-confidence groups deserve a closer look at the map and timeline. Low-confidence groups should not receive a precise location merely to make the library look complete.
This is the central trade-off: broad location data can be better than false precision, and no location can be better than an unsupported claim. If you know a set of scanned prints was made in Chicago but cannot identify the exact park, label them at the level you can justify. If you cannot justify Chicago either, leave the field blank until better information appears.
Apply locations in a reversible, reviewable pass
Once a group has a justified proposal, apply the change as a separate step from scanning and reviewing. Keeping those stages distinct prevents accidental edits during exploration. It also gives you a natural moment to inspect the selected photo count and confirm that screenshots or unrelated images have not slipped in.
For a large library, work in smaller passes. Start with the trips or date ranges where evidence is strongest. Then move to older scans, received images, and uncertain imports. This produces useful results early without turning an entire archive into one irreversible project.
Keep a record of what changed. A journal of applied locations, or a reliable undo path, matters because memory can improve later. A relative may identify a house in an old scan. A travel itinerary may reveal that a group was taken in a different neighborhood. Metadata should be correctable when new evidence arrives.
Photo Geotag follows this approach on iPhone, iPad, and Mac: it scans for untagged images between geotagged anchors, presents grouped proposals, communicates certainty, and leaves unsupported photos without a claimed pin. Its processing stays on device, with no account, cloud upload, or network analysis of your library.
When manual placement is the better answer
Not every photo should be inferred from a timeline. Scanned prints commonly have no reliable timestamp. Images forwarded years after they were taken may carry misleading dates. Indoor photos may have no GPS lock, but the next known-location photo could be from an entirely different stop.
For those images, manual editing is not a failure of automation. It is the right response to limited evidence. Add a location at the appropriate level of specificity, or wait until you can verify it from a caption, calendar, route, or family member. The few minutes spent on an ambiguous group are worth more than a fast batch edit that places a memory in the wrong city.
A well-organized library is not one where every image has a pin. It is one where each pin means what it says, and where the photos without enough evidence are left open for the moment when the right context returns.