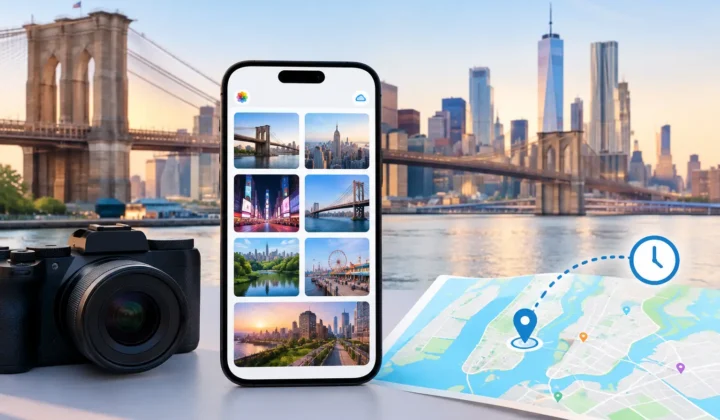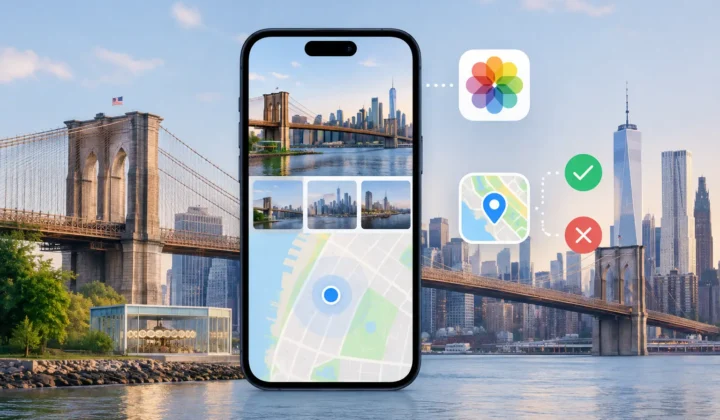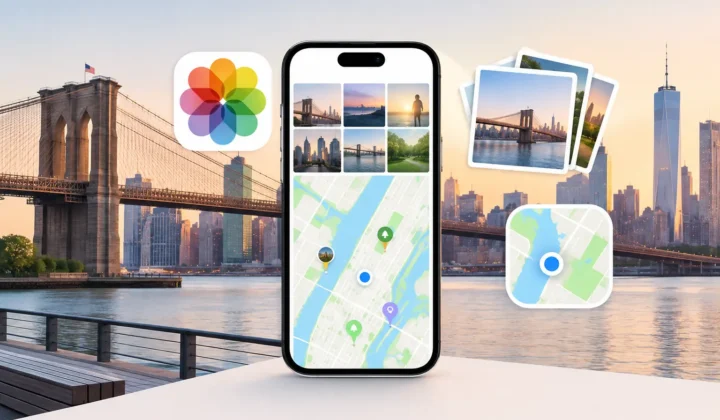
A Sony camera can preserve the light, composition, and detail of a trip while losing the one fact that makes the images easy to find years later: where they were taken. To geotag Sony camera photos accurately, you need more than a familiar destination or a rough memory. You need evidence that connects a photo’s capture time to a place without turning uncertainty into a confident-looking pin.
This is a common gap in Apple Photos libraries. You import a day of Sony images alongside iPhone photos from the same outing. The iPhone photos appear on the map. The Sony files sit beside them in the timeline, visually and chronologically connected, but without location metadata. The missing information may be recoverable, but the method matters.
Why Sony camera photos often arrive without locations
Some Sony camera and phone combinations can record or transfer location information, but behavior varies by camera model, settings, phone connection, and shooting conditions. A location feature may not have been enabled. The camera may have lost its connection to the phone. Or the phone itself may not have had a reliable location at the time.
There are also ordinary workflow reasons. You may import RAW files through a desktop application, save edited exports, receive a selection from another photographer, or move files through an app that does not retain every metadata field. Indoor scenes, flights, museums, and dense city streets can all leave location data incomplete even when the date and time remain intact.
The result is not necessarily a broken file. It is a file with a missing piece of context. Treating that distinction carefully prevents a repair from becoming a new error.
Start with evidence, not the map
Before assigning a location, establish what can actually support it. The strongest evidence is usually a set of nearby photos with known locations and trustworthy timestamps. For example, an iPhone image at 10:12 AM may be geotagged at a trailhead, while another at 10:27 AM is geotagged at the same overlook. A group of Sony images captured between those times has a reasonable relationship to that place.
That does not mean every photo between two known points belongs at the first point. If the anchors are four minutes apart and show the same scene, a grouped proposal may be well supported. If they are six hours apart, the same inference is weak. The photographer could have driven across town, flown to another city, or simply taken the camera out again later that day.
A GPS track recorded on a phone, watch, or dedicated device can add useful evidence. So can visible details in the image itself: a recognizable building, trail marker, venue, or landscape. Personal memory is also valuable, especially for a small set of meaningful photos. It is less reliable as a method for hundreds of similar frames from a long trip.
How to geotag Sony camera photos in Apple Photos
Preserve the original context first
Make sure the Sony images have been imported into your photo library with their original capture dates intact. Location repair depends heavily on timing. If files were exported, renamed, or processed through software that changed their timestamps, inspect a few images before making broad edits.
A backup is sensible whenever you are organizing a large library. Adding location metadata does not change the pixels in a photograph, but location is still meaningful library information. You should be able to review what changed and undo a decision if later evidence proves it wrong.
Find reliable anchor photos
Open the relevant period in Apple Photos and look for photos that already have a verified location. iPhone images from the same day are often the most useful anchors, provided they were taken by you and their location looks correct. A geotagged hotel exterior, trailhead, restaurant, or family photo can establish a useful starting point.
Then compare the timestamps. Do not rely only on the visual order of images in an album. A photo library can sort by the dates embedded in files, and a camera with an incorrect clock can make a morning appear to be late afternoon. Look for patterns across several pictures rather than trusting one isolated frame.
Check the Sony camera clock
A clock offset is one of the easiest ways to produce a plausible but wrong result. A Sony camera set three hours behind the local time may place every photo near an unrelated part of the day. Daylight saving changes, international travel, and a camera that was never reset after a trip can create similar problems.
Compare a Sony image and an iPhone image of the same moment, such as a group photo, meal, sunset, or event entrance. If the difference is consistent, account for it before matching Sony images to location anchors. A consistent offset can be corrected as part of the reasoning. An inconsistent one needs more caution, because it may indicate multiple shooting sessions or altered file dates.
Apply locations in meaningful groups
If a set of Sony photos clearly belongs to one place, grouping is safer and faster than assigning a pin to every frame independently. A sequence shot during a museum visit, at a beach, or along a single trail section may share the same location context even if exact coordinates would differ slightly.
Apple Photos lets you inspect and adjust photo locations, but manual work becomes tedious when a trip contains hundreds of files. The practical question is not whether you can place every image yourself. It is whether you can identify the groups that deserve the same location, verify the evidence, and leave the ambiguous groups untouched until you know more.
When automatic inference is justified
Automatic help is useful when it presents a proposal rather than pretending to know more than it does. A good system should show the nearby geotagged photos that support a placement, the time span involved, and the degree of certainty. It should also make a distinction between “likely at this location” and “not enough evidence.”
Photo Geotag is designed around that distinction. It scans an existing Apple Photos timeline for untagged images between geotagged anchors, then groups supported proposals for review. The workflow is Scan, Confirm, Apply: first identify the gap, then inspect the evidence, then make the change only after explicit confirmation.
This approach is especially useful after importing a Sony card from a trip where you also took iPhone photos. A tight cluster between matching anchors may earn a clear proposal. A long gap, a change in direction, or conflicting nearby locations should not. Never a confident pin it cannot justify is a better standard than a map filled with attractive but unreliable dots.
Cases that need manual judgment
Some photos cannot be located accurately from time alone. A night sequence may begin at a hotel, continue in a taxi, and end at a concert venue. Images captured during a road trip can cross several towns between two known anchors. Wildlife or landscape shots may be taken far from the point where the photographer stopped the car.
In these cases, use the most specific location the evidence supports, or choose a broader meaningful place if that is all you know. A city-level correction can be more honest than a false pin at a particular address. For family archives, it may be enough to associate a batch with a vacation home, reunion venue, or national park rather than reconstructing the exact spot of every image.
If the evidence conflicts, leave the field empty for now. Missing metadata is visible and revisable. Incorrect metadata can quietly affect map views, search results, shared albums, and the story your library tells later.
Keep location repair private and reversible
Location metadata is personal. It can reveal home addresses, travel patterns, schools, medical visits, and routines. Any workflow for repairing it should make clear where the photos are processed, what information leaves the device, and how edits can be reviewed or reversed.
For a personal Apple Photos library, local processing avoids sending a lifetime of images to a remote service merely to compare dates and locations. It also keeps the decision close to the person who understands the trip, the people pictured, and the consequences of a location being attached to a memory.
After applying locations, inspect a few representative photos on the map and in the timeline. Check the beginning, middle, and end of each group, especially where a day involved travel. That brief review catches clock issues and overbroad grouping before they become part of the library’s long-term record.
The goal is not to put every Sony photo on a map. It is to restore place where the timeline can support it, make careful manual decisions where it cannot, and leave room for future evidence when a memory deserves more certainty.