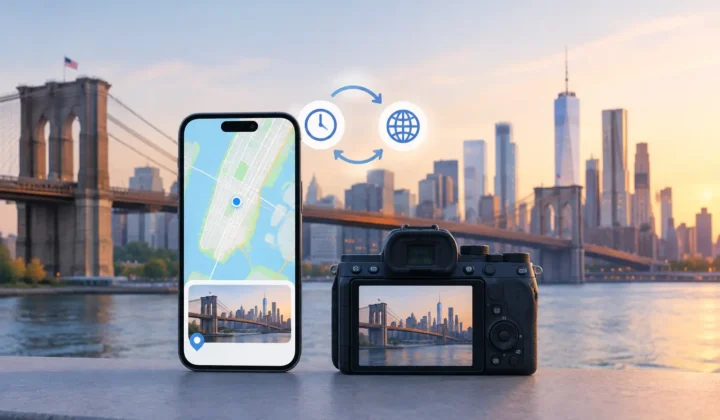

A photo library can contain thousands of faces, dates, and favorite moments, yet still lose the detail that makes a memory findable: where it happened. Learning how to organize photos by location is less about creating another filing system and more about making sure your existing library has location metadata it can support.
Apple Photos already does much of the organizing when a photo has a valid location. It can place images on a map, group them by city or country, and surface a trip years later with a simple search. The difficult part is the gap between what you remember and what the file knows. Scanned prints, saved messages, AirDrop transfers, indoor photos, and images from GPS-free cameras can all arrive without a place attached.
The right workflow preserves the convenience of automatic organization without treating every missing pin as an invitation to guess.
Start with the location data already in your library
Before changing anything, look at what Apple Photos can already identify. Open the Places view and move between broad map regions and individual clusters. Search for a city, landmark, state, or country you know appears in your library. Then compare the map against a familiar trip or event.
This establishes two useful facts. First, it shows where your library is already well documented. Second, it reveals the kinds of gaps you are dealing with. A few photos missing from an otherwise complete afternoon are a different problem from an entire imported camera folder with no GPS information.
Avoid beginning with manual albums named after every destination. Albums can be useful for a specific project, but they are not a substitute for location metadata. A manually maintained “Chicago” album does not help when you want to search a map, browse a date range around a trip, or locate an image that belongs to more than one story. A properly geotagged photo can appear wherever it is relevant without being copied into separate folders.
Understand when a location is justified
A timestamp alone does not prove location. Nor does a nearby photo always prove it. The strength of the evidence depends on the time between known locations, the distance involved, and whether the sequence makes sense.
Imagine two geotagged photos taken on the same street at 2:00 PM and 2:04 PM. An untagged image at 2:02 PM likely belongs in the same area, particularly if all three photographs appear to be part of the same walk. That is a reasonable proposal for review.
Now consider an untagged photo between images taken at 9:00 AM in Los Angeles and 3:00 PM in San Francisco. There may be a likely travel story, but there is no defensible basis for drawing a precise pin. You might know where the image was taken. The software does not. The distinction matters because an incorrect location can be harder to notice later than a missing one.
For this reason, organize in confidence levels rather than treating all gaps alike. Photos supported by close, consistent neighboring locations can be reviewed as a group. Images with weak or conflicting evidence should remain unassigned until you can verify them manually. A blank place field is honest metadata.
How to organize photos by location without manual busywork
The most efficient process works from clear evidence outward. Start with periods where location anchors are already present, such as an iPhone photo before and after a batch from a dedicated camera. Then address entire trips, family events, and scanned collections where your own knowledge supplies the missing context.
Use dates as the first organizing tool
Dates turn a large library into manageable windows. Find the day of a vacation, an event, or a camera import. Look immediately before and after the untagged sequence for photos taken on a phone with location services enabled. These nearby, geotagged images are anchors.
Do not assume your camera timestamp is correct. Dedicated cameras frequently drift after a battery change, travel across time zones, or daylight saving adjustments. A one-hour offset can make a correctly ordered day look like inconsistent evidence. A larger error can make a camera sequence appear to belong between entirely unrelated phone photos.
Check for a repeatable offset by comparing recognizable moments captured with both devices: the same meal, venue, person, or scene. If the camera is consistently ahead or behind, correct the time relationship before using timestamps to infer locations. This is not cosmetic cleanup. It changes whether a proposed place is justified.
Review groups, not isolated images
Location work becomes tedious when each image requires the same decision. It becomes safer when related photos are presented together with the evidence that connects them.
A useful review group might contain 40 camera images captured during a two-hour museum visit, positioned between phone photos that are all tagged at the museum. You can assess the timeline, inspect the anchor photos, and decide whether the whole group belongs there. If a few images clearly came from lunch across town, split them out rather than forcing the batch into one location.
Photo Geotag uses this approach to scan an existing Apple photo library for untagged images between geotagged anchors. It proposes grouped locations for review, shows explicit certainty states, and does not silently write a pin it cannot justify. The processing stays on device, with no account, cloud upload, or network processing of your personal photos.
That grouping is valuable even if you prefer to make every final placement yourself. It reduces repetitive work while preserving the question that matters: does this location belong on these photos?
Add manual locations where your knowledge is stronger
Some images have no usable anchors at all. Old scanned prints may have a date but no digital neighbors. A WhatsApp save may retain neither a reliable capture time nor a location. In these cases, manual editing is the correct method, provided you record only what you can reasonably identify.
Be as precise as your evidence permits. If you know a photo was taken in Yosemite but not at a particular overlook, use the broader location instead of selecting a dramatic but uncertain pin. If you know only that it was during a family trip to Maine, consider leaving the image unpinned until a relative, print caption, or surrounding sequence provides more detail.
Precision can be useful, but false precision is not organization. It is misinformation with a map marker.
Build a review routine that protects the library
Location metadata changes how photos are found and shared, so treat them as edits worth reviewing. Work in small sessions, ideally one date range or event at a time. After applying a location, return to the map and timeline to make sure the result behaves as expected.
Keep an eye out for common warning signs: a cluster appearing in the wrong city, a camera batch falling an hour before the corresponding phone images, or a long sequence assigned to one pin despite obvious travel between scenes. These are often signs of clock offset, a weak anchor, or a group that needs to be split.
Reversibility matters here. Use a process that lets you inspect proposed changes before applying them and undo a decision if later evidence contradicts it. This is especially important for family archives, where one mistaken assumption can be repeated across hundreds of digitized images.
You may also want to separate location accuracy from privacy choices. Accurate metadata makes a private library more useful. But when exporting or sharing a photo, decide separately whether the recipient needs to see where it was taken. Organizing your own collection does not require exposing its location history to everyone else.
Let places improve retrieval, not replace memory
Once locations are reliable, Apple Photos becomes easier to use in ways that feel natural rather than administrative. Search for a city and date to find a particular trip. Open the map when a name has slipped your mind. Browse a neighborhood to recover the photographs that never made it into a favorite album.
The goal is not a map with a pin on every image. It is a library where locations are present when they are supported, absent when they are not, and simple to correct when better information appears. A carefully placed pin can bring a memory back into reach years from now. That is reason enough to place it carefully.